Showing posts with label flower tutorial. Show all posts

Saturday, December 10, 2016

**Tutorial Saturday** with Jan and November kit Reveal

Wow! November sure got away from me. How about you? I typically scrap the entire kit but, this month I still have several sheets of paper left and the December kit has already arrived.

I have a feeling December is going to fly by as well.

So, first let me share my interpretation of the beautiful monthly sketch that Kim created for us.

This layout showcases a photo of my son who is now 23 years old. (Talk about time flying!)

Here's Kim's wonderful sketch.


And, this is my take on the sketch.


I did some random stamping on the background as well as some splats of Glimmer Mist. The 12x12 Dusty Attic chippy was cut in pieces and treated with Prima Color Blooms. The flowers are from the kit, flower add on and my stash. I made some flowers using a Heartfelt creations die and stamp set. I will share a video tutorial with you today on how I made them.

Next, I worked on the All that Flutters challenge.


For this one, I cut apart the 49 and Market flower spray so I could use it on both sides of the layout. The wooden word piece was sprayed with adhesive and then covered with Prima foil. There is some fussy cutting amongst the flower clusters. The doily is a Prima die.

Here's a fun one that is actually a Christmas gift for one of my technicians. (I stole the senior picture of her daughter off of her Facebook page. hehe!)


Torn paper diagonally on the layout seems to be a thing right now. Have you noticed? Anyway, I did a little bit of a twist on that. The sunburst stenciling under the photo is a Tim Holtz stencil with Wendy Vecchi embossing paste. The title is a Creative Embellishments chippie that was covered with Ultra Thick Embossing Enamel in platinum.

Here's one more of my cute little fluff ball. He got a cut and color at the groomer's for Thanksgiving. Yes, I did say color! He gets his feet and ears colored. This time they looked yellow so he got the nickname of "Cheeto" from my niece and nephew.


Random stamping and stenciling with Wendy Vecchi black embossing paste on the background. The stencil is made by Dusty Attic. The wooden banner was tucked into the flower cluster so all you can see is the word "you." Then, I added the "love" embellishment over the top to make the title for the page "love you." Flowers are from the main kit and flower add on. There is some more fussy cutting in the flower clusters here, too.

Ok, now on to the tutorial for this Saturday.

This one is on making your own flowers using stamps and dies that you have on hand. I will show you how to shape your diecuts to create beautiful three dimensional flowers.

Here's a close-up.


Here's the video tutorial.


These are Design Team project I created for Swirlydoos Scrapbook Kit Club. If you’re ready to start getting perfectly coordinated, top of the line scrapbook kits delivered to your door, please visit us at www.swirlydoos.com. Mention my name (Jan) when you subscribe and you’ll receive 10% off your first kit, AND a coupon good for 30% off your entire purchase in the Swirlydoos.com store!


Wednesday, July 8, 2015

June Swirlydoos Reveal Boy's Night Out and bonus Flower Tutorial

Good morning, Swirly Savages! I am pumped to be able to share my first DT creations with you using the June kit, Boy's Night Out. Despite the name, the kit can be used for masculine layouts or sweet girly ones. 

Since we celebrated Father's Day in June, I decided to make a layout of my father. I always start with the sketch challenge. So, this layout is of my dad and I many moons ago.


The  leaves, drywall tape, and black embossing paste were from my stash. I made the flowers and will share the tut with you today. The "Father" die cut is from the embellishment add on. All the other elements were from the main kit. I altered the fiber by snipping the loops on one side and pulling the thread that was wrapped around the loops to create all the twirly fibers.

And, the flowers? Well, the savages snagged all the flower add ons so I had to make my own!

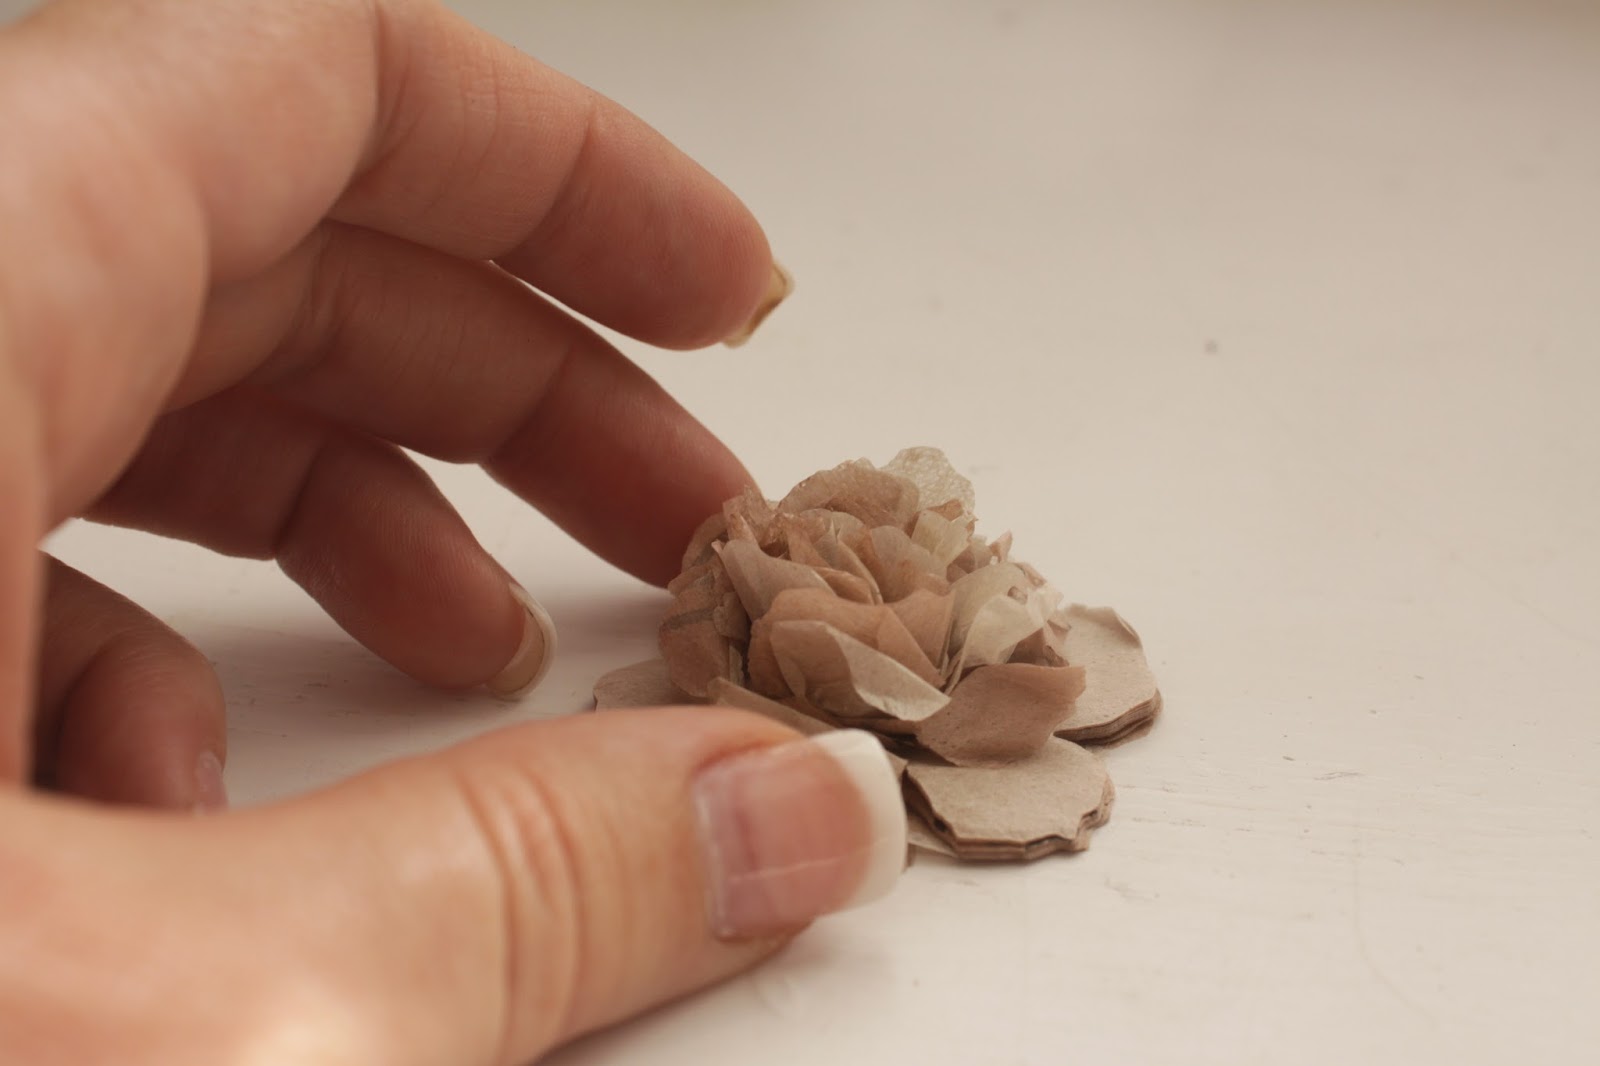
Here's a look at them.


I used to sew my daughter's Easter and Christmas dresses when she was younger and I have a lot of sewing patterns that I no longer use. But, now I do have a use for them! I made these flowers out of sewing pattern tissue paper. Very simple. Even if you don't sew, you can pick up old patterns at garage sales.
Keep the sewing pattern folded so you get many die cut layers all at once. I used the TH Tattered Florals die.

 Then, pull out about half of the layers that have been cut. Here's a quick look at how many I pulled out to create the flowers.


Next, you will need to use a hole punch to make a hole through the center of all the layers.


Now, put a metal brad through the hole to secure all the layers together. Then, you can begin gathering up the layers around the brad.


Continue scrunching up layers of tissue around the brad, like so.


After I pulled and scrunched about 15-20 layers, the flower looked like this.


Now, once the center is created it's okay to begin pulling up multiple layers and scrunching them to fill out the flower.


There you have it! I used two different sizes on the sketch challenge and they worked perfect. The tissue flowers are perfect for heritage pages.


Give it a whirl! I'd love to see what you create!

I loved the flowers so much I used them on my next layout, too!
This is an example for the All That Flutters Challenge. I love to enter this challenge every month because I love butterflies on my pages.

What I love about this page is the fact that I found out my grandma is a scrapper, too. She started when she was just out of high school. My mom and I went to visit and look at her albums. I was able to scan pictures from her albums to scrap myself.


This page features some pictures I scanned from her album.
Again, more of the tissue flowers on this one.


The last one that I will share today is more on the girly side.
More pictures from my grandma's albums. These pictures of her are priceless.


I have created three more layouts and shared those on the Swirlydoos Facebook page. You can see all the June layouts here

And, here's a sneak of something I have in store for you later this month. What do you do when you get down to the scraps of your kit? Do you toss them? Make a card? Keep them for later (and, later never arrives)?  Well, here's what's left of my June kit.


I'll show you what to do when you get down to the bare bones of your kit.

Thanks so much for stopping by our blog today! If you are not a Swirlydoos Kit Club subscriber, please consider it so that you never miss any of our beautifully coordinated kits. Please visit Swirlydoos Kit Club and click on Join Our Club on the left side bar. Be sure to mention my name, Jan, when you subscribe because you will receive a 10% discount on your first kit AND a coupon for 30% off an entire purchase in the Swirlydoos store. Your Swirlydoos store purchases are always shipped free when shipped along with your monthly kit. Swirlydoos also maintains a Forum where everyone can share their work, tell stories and have a ton of fun! We have monthly challenges too so please come and join us!