Showing posts with label video tutorial. Show all posts

Monday, September 18, 2017

Tutorial Saturday **altered lantern**

I've been impatiently waiting to share this tutorial with you.

Why?

Well, it was fun to make! So, here's a few pictures for you.


Here's the Youtube video tutorial.


This is a Design Team project I created for Swirlydoos Scrapbook Kit Club. If you’re ready to start getting perfectly coordinated, top of the line scrapbook kits delivered to your door, please visit us at www.swirlydoos.com. Mention my name (Jan) when you subscribe and you’ll receive 10% off your first kit, AND a coupon good for 30% off your entire purchase in the Swirlydoos.com store!


Saturday, July 22, 2017

Tutorial Saturday on Swirlydoos

It's Saturday!!!

Time for another tutorial.

I am always up for a new, unique way to make cards so here's a card tutorial for you.
This card has some folds and edge punching to make it different. And, the card stands on it's own.


Here's the video tutorial for you.


This is a Design Team project I created for Swirlydoos Scrapbook Kit Club. If you’re ready to start getting perfectly coordinated, top of the line scrapbook kits delivered to your door, please visit us at www.swirlydoos.com. Mention my name (Jan) when you subscribe and you’ll receive 10% off your first kit, AND a coupon good for 30% off your entire purchase in the Swirlydoos.com store!


Saturday, June 17, 2017

May "Summer Grunge" OTP video tutorial

I am excited to share an OTP (off the page) video tutorial using the May technique add on from Swirlydoos. I used items from past and current kits, from the Swirlydoos store and my stash to complete this wall hanging. 


Some close ups so you can see the texture created with the modeling paste and crackle medium.


The corrugated heart was part of the April main kit of the month.


What's really cool is the heavy door plate on the left tag perfectly counter balances the weight on the right side of the tag. Because of this, I can use the larger tag's hole to hang this on the wall and it will hang straight.


Here's the Youtube video for you.


This is a Design Team project I created for Swirlydoos Scrapbook Kit Club. If you’re ready to start getting perfectly coordinated, top of the line scrapbook kits delivered to your door, please visit us at www.swirlydoos.com. Mention my name (Jan) when you subscribe and you’ll receive 10% off your first kit, AND a coupon good for 30% off your entire purchase in the Swirlydoos.com store!


Saturday, April 22, 2017

Tutorial Saturday with Swirlydoos

Hello, scrappy people!

I've been anxious to share how I made the Kaiser heart shelf that was part of the February Swirlydoos technique add on.

Here's some close ups so you can see the texture. I mixed mica powder with the clear crackle medium to create the look.

Here's a close up of the paper clay leaves using an IOD mold.


And, here's the video tutorial.


This is a Design Team project I created for Swirlydoos Scrapbook Kit Club. If you’re ready to start getting perfectly coordinated, top of the line scrapbook kits delivered to your door, please visit us at www.swirlydoos.com. Mention my name (Jan) when you subscribe and you’ll receive 10% off your first kit, AND a coupon good for 30% off your entire purchase in the Swirlydoos.com store!


Saturday, March 11, 2017

Swirlydoos **Saturday tutorial** and February kit reveal with Jan

Yay! It's mine turn to share projects created with the Swirlydoos February kit of the month!

Here's my interpretation of the beautiful sketch this month.

There is some background stamping with two Prima stamps from my stash and a Creative Embellishements stamp as well as some splatters with Smooch in black.

Don't you just love those 49 and Market flowers? Oh my! They are gorgeous!

I added some beads inside the clay frame that I made from a mold. It was painted with Art Alchemy in Steampunk Copper.


Here's another clay piece from a Prima mold.


Next, I worked on the cute little slate heart included in the main kit.

I did some random stamping on the heart then did some stenciling. The wooden "always" was painted with the new Prima Sparks paint in Mermaid Sparkle. Love the Sparks! They really do have a lot of sparkle!

So, to continue the heart theme I'd like to share my Kaiser heart shelf.


Here's some close ups.


I'll share how I created this texture in an upcoming video.

Here's some clay leaves using a Prima mold.


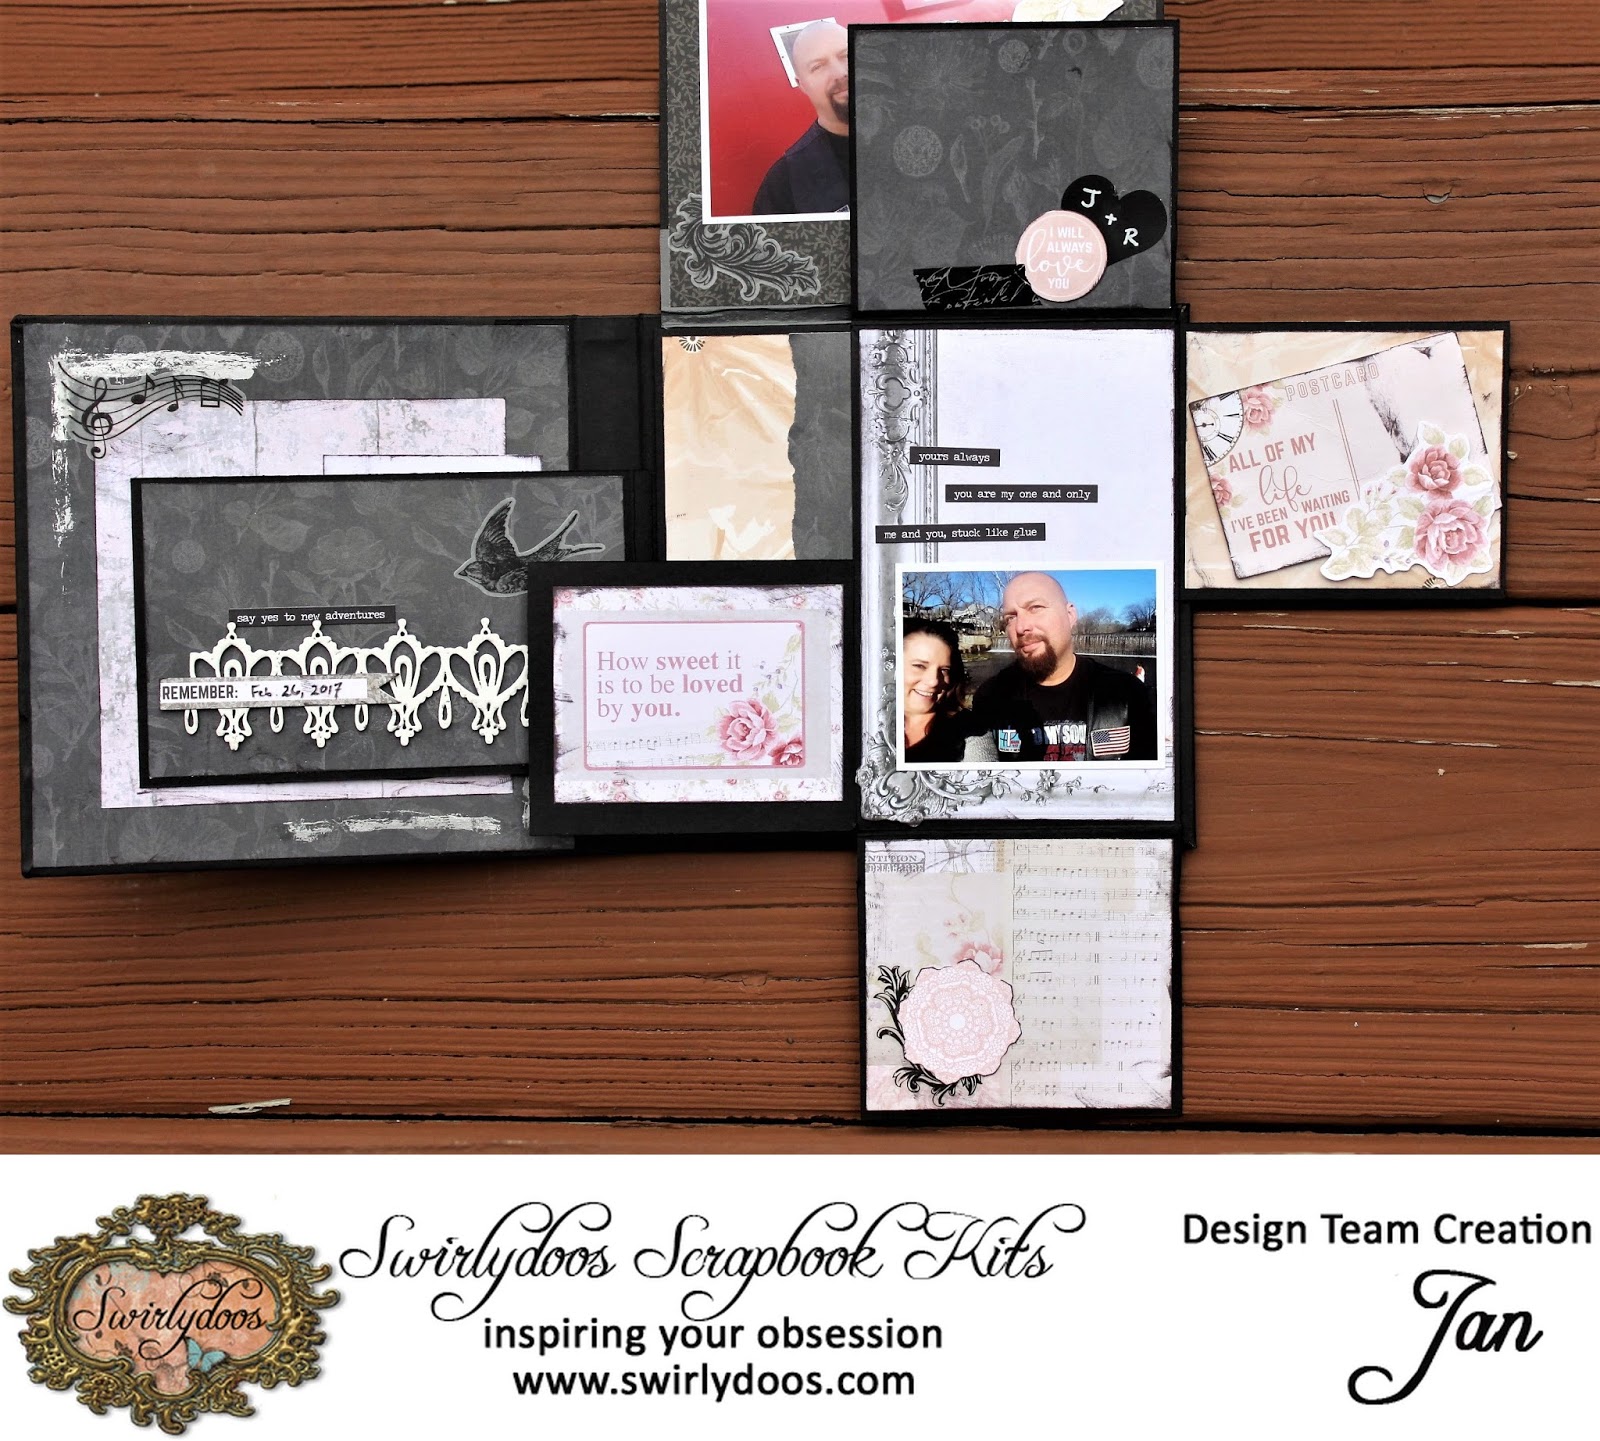
Here's a mini pop up album.


Inside first page with a pocket and tag.


Second pop up page.


Third pop up.


Back of mini pop up album.


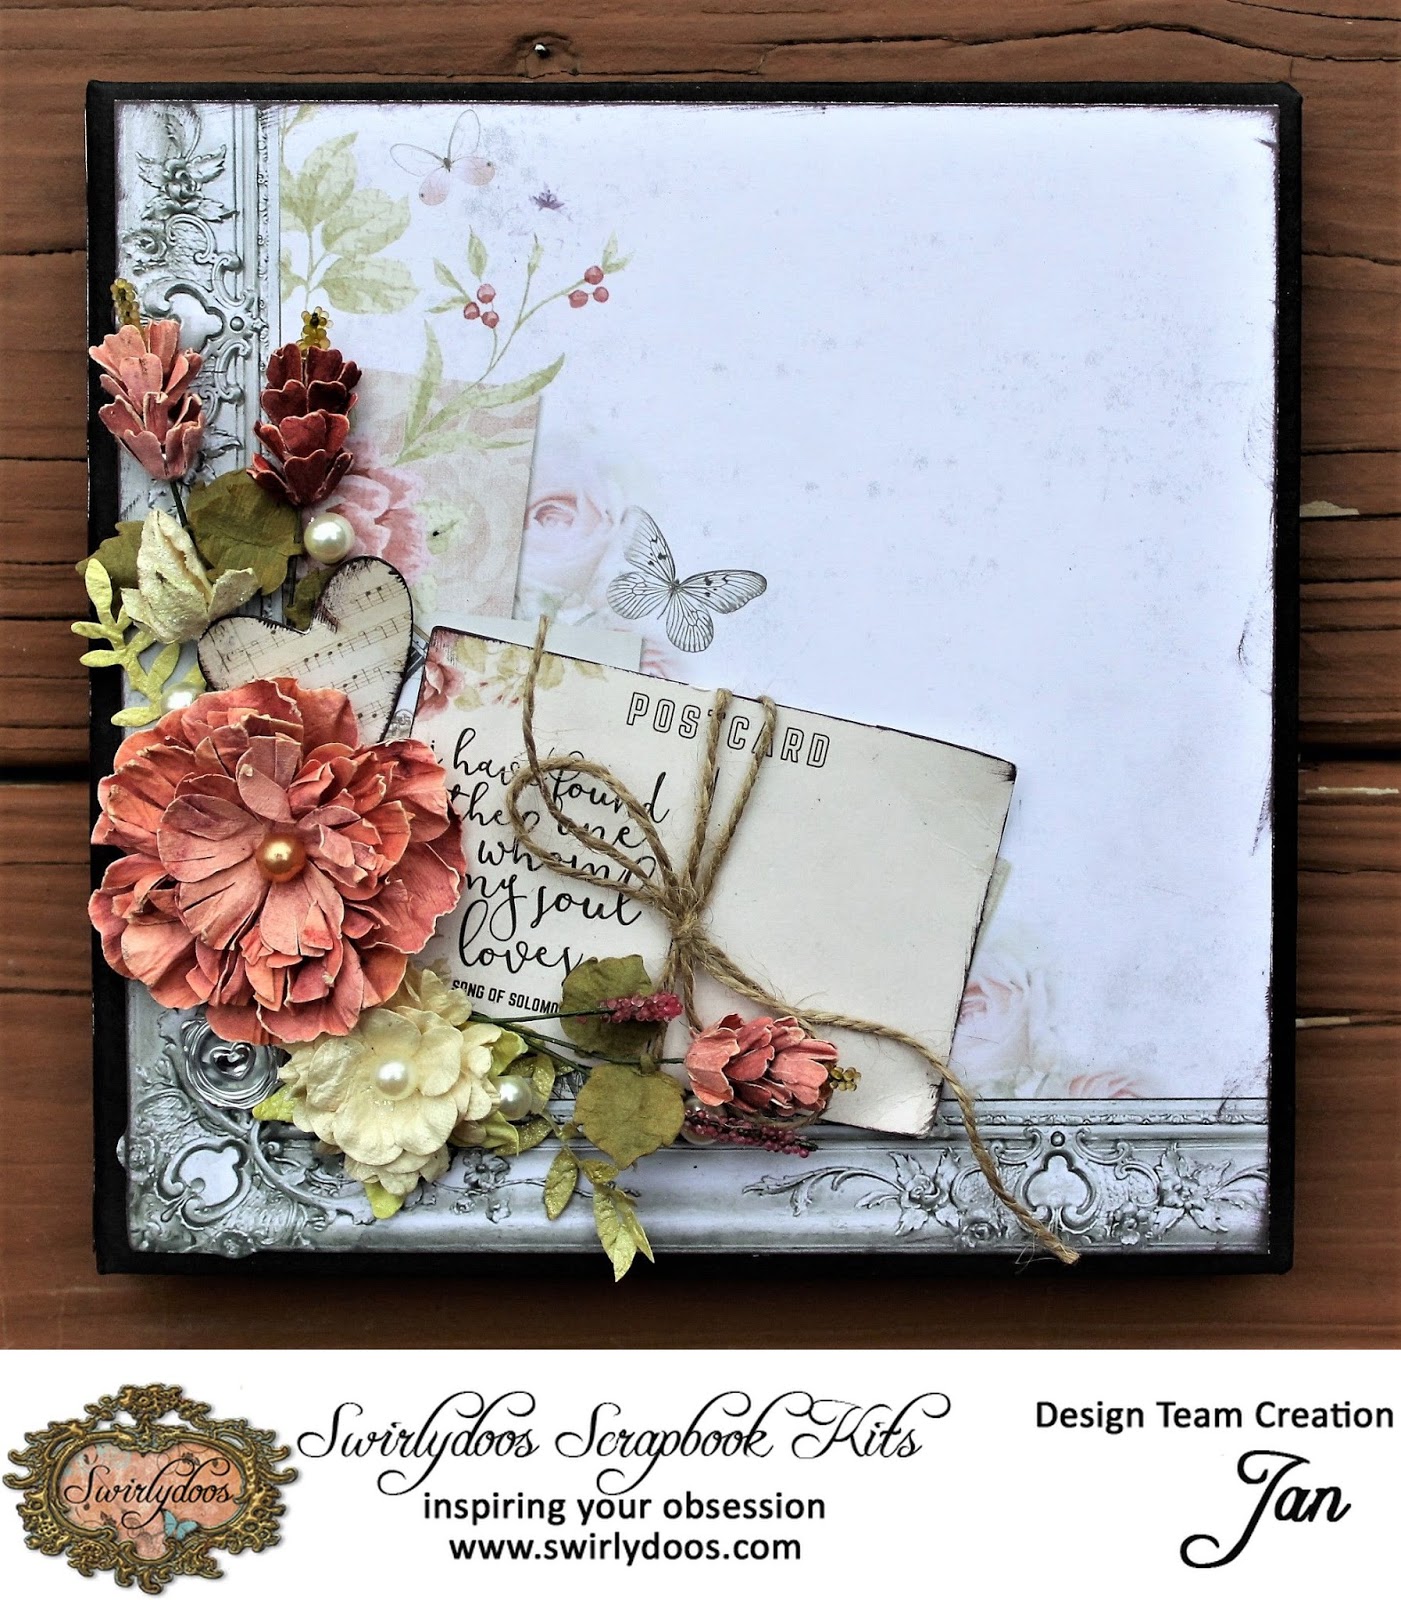
And, my last project. It's an interactive folio. This is the cover decorated with more of the beautiful 49 and Market flowers.


The folio is made of chipboard, black cardstock, magnets and a lot of score tape! This is made from an adaptation of several Youtube videos by Lunar Sun.


Here's the back.


 Here's a video so you can see all the flips and flaps.


 Krissy found this cute little mini album and sent the link to me. Of course, I had to check it out and make one a few weeks ago. So, first of all, this is not my own idea. Several different videos are out there showing how to use a pop and twist mechanism for this mini album.

I used papers, flowers, and embellishments from the Swirlydoos February kit of the month to create this pop and twist mini album.

Here's a few pictures.


Here's the Youtube video tutorial.


These are Design Team projects I created for Swirlydoos Scrapbook Kit Club. If you’re ready to start getting perfectly coordinated, top of the line scrapbook kits delivered to your door, please visit us at www.swirlydoos.com. Mention my name (Jan) when you subscribe and you’ll receive 10% off your first kit, AND a coupon good for 30% off your entire purchase in the Swirlydoos.com store!